How to install Epoxy Flooring?
24 June 2025
How to Install Epoxy Flooring
Epoxy flooring is a popular choice for both commercial and residential settings due to its durability, resistance to chemicals and stains, and clean, polished appearance.
Installing epoxy flooring, however, is not a simple paint job. It’s a technical process that requires surface preparation, precision mixing, application in stages, and careful curing. In this guide, we’ll walk through everything you need to know about how to install epoxy flooring—whether you are a seasoned contractor or an ambitious DIYer.
1. What Is Epoxy Resin Flooring?
Before jumping into the installation steps, it’s important to understand what epoxy flooring is.
Epoxy flooring is a thermosetting resin-based coating that bonds chemically to concrete or other substrates. It’s created by mixing two components:
- Epoxy resin (Part A)
- Hardener (Part B)
Once mixed, the reaction creates a strong, plastic-like material that forms a durable, chemical-resistant, and often decorative floor surface. Various types of epoxy flooring include self-leveling epoxy, flake epoxy, quartz epoxy, and mortar epoxy, each suited for different environments and performance needs.
2. Tools and Materials Needed
Materials:
- Epoxy resin and hardener (kit)
- Epoxy topcoat (optional for added durability)
- Decorative flakes or quartz (optional)
- Anti-slip additive (optional)
Tools:
- Vacuum or broom
- Mixing buckets and drill with paddle attachment
- Paint rollers and brushes
- Spiked shoes (for walking over wet epoxy)
- Painter’s tape and plastic sheeting
- Protective equipment (gloves and shoes cover)
3. Steps for Epoxy Floor Installation
Step 1: Evaluate and Prepare the Substrate
a) Inspect the flooring
Check for moisture issues, cracks and existing coatings. Moisture is a major enemy of epoxy—it can cause bubbling, delamination, and adhesion failure.
b) Repair and Clean
- Fill cracks and holes with epoxy filler or patching compound.
- Degrease the surface with a degreaser or solvent like acetone.
c) Clean Thoroughly
Remove all dust and debris. The cleaner the surface, the stronger the bond.
Step 2: Mix the Epoxy Resin
Mixing epoxy properly is critical. Once Part A (resin) and Part B (hardener) are combined, the curing process begins, and you’ll have limited working time.
- Use a clean mixing bucket and a drill with a paddle.
- Mix the components thoroughly but slowly to avoid introducing air bubbles.
- Follow the mixing ratio strictly.
- Once mixed, pour immediately onto the floor to extend working time and prevent premature curing in the bucket.
Step 3: Apply the Base Coat
a) Pour and Spread
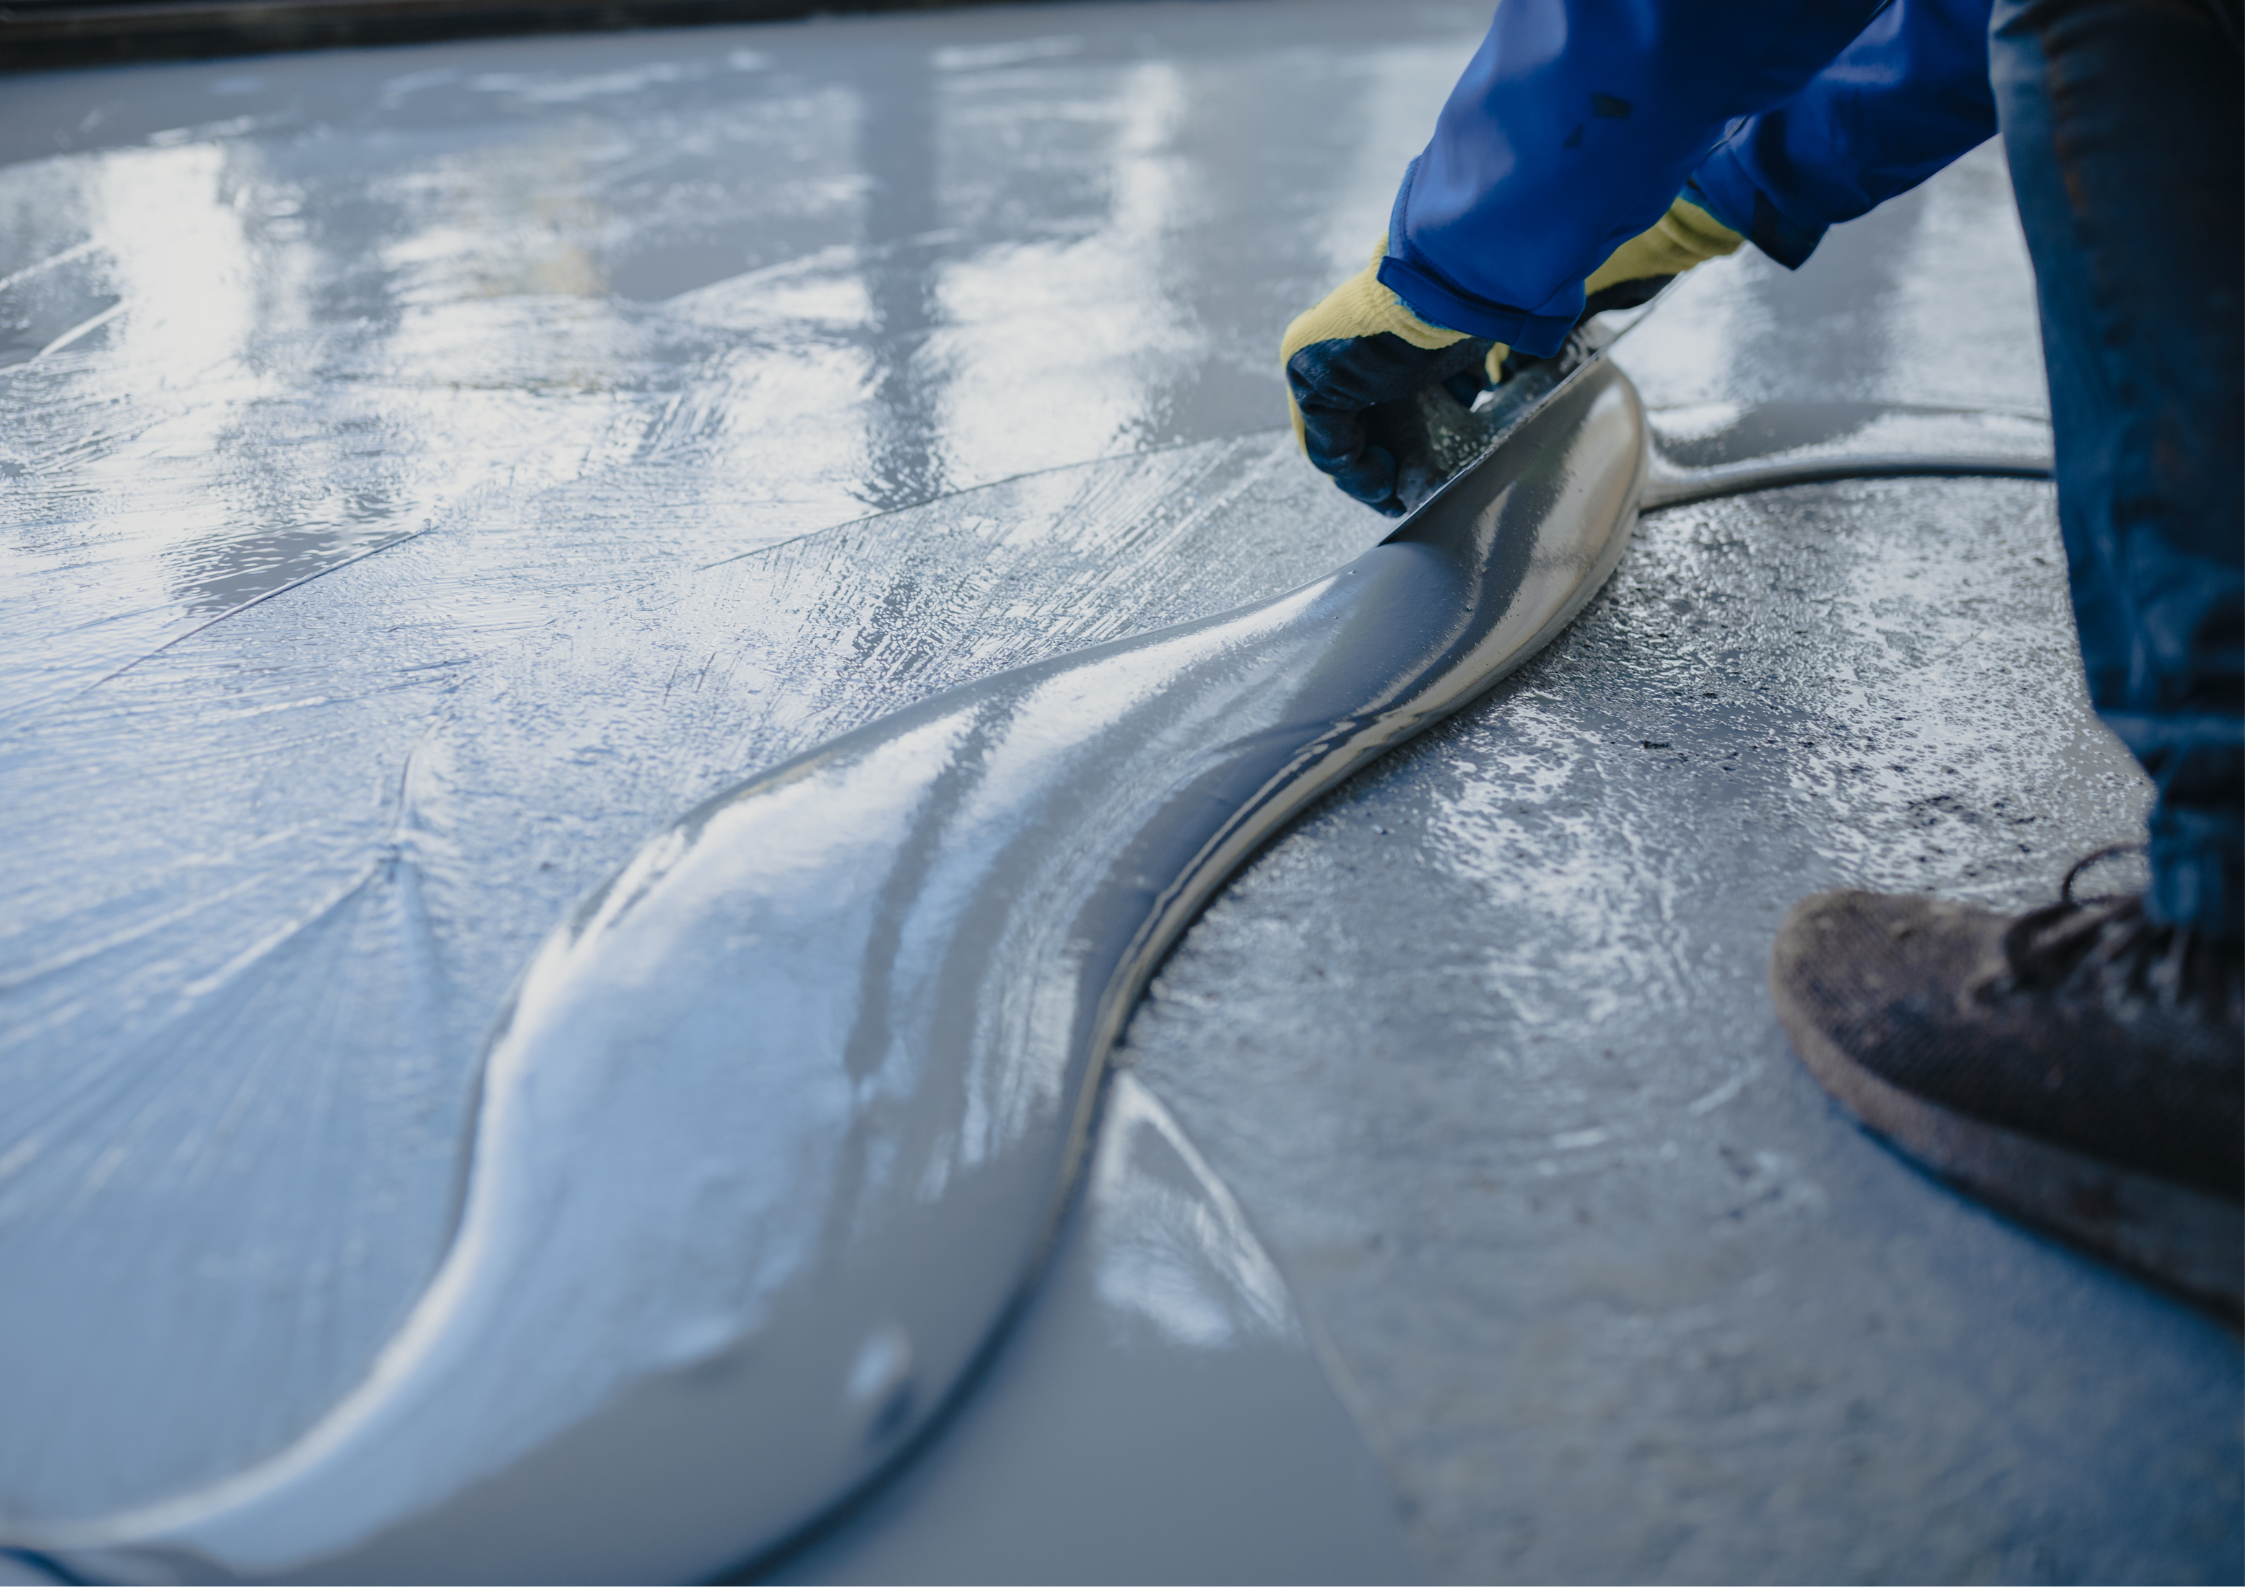
- Pour the epoxy directly onto the floor.
- Use a roller to spread the epoxy evenly.
b) Roll the Epoxy
- Back-roll the epoxy with a lint-free roller to even it out and remove air bubbles.
- Work in small sections and blend edges carefully to avoid lap lines.
Step 4: Add Decorative Elements (Optional)
If you’re using color flakes or quartz sand, broadcast them into the wet epoxy base coat:
- Sprinkle the flakes by hand or with a spreader for even distribution.
- For full coverage (flake floor), apply until rejection, meaning the floor no longer absorbs the flakes.
- Let cure for 8–12 hours, or as specified by the manufacturer.
After curing, scrape and vacuum excess flakes for a smooth finish.
Step 5: Curing and Re-Coat Times
- Epoxy flooring requires curing time for optimal performance.
- Always follow the manufacturer’s specific cure times and conditions.
Step 6: Apply the Topcoat (Optional but Recommended)
Once the base coat is cured, apply a top coat. A topcoat adds UV resistance, gloss or matte finish, anti-slip properties, and enhanced durability.
- Mix the topcoat components
- Roll evenly across the floor
- Add anti-slip additives if needed
Let the floor cure completely before walking or placing items on the floor.
4. Common mistakes to avoid
- Poor surface prep – The number one cause of epoxy failure.
- Skipping the moisture test – Leads to bubbling or lifting.
- Incorrect mixing – Incomplete curing or soft spots.
- Working too slowly – Epoxy has a short pot life; move quickly and methodically.
- Applying in humid or cold environments – Affects curing time and bond strength
5. Maintenance tips for longevity
-
Maintenance Tips for Longevity
- Clean regularly with a soft mop and pH-neutral cleaner
- Avoid harsh acids or abrasives
- Recoat every 5–7 years if the top layer becomes worn
- Address chips or scratches quickly to prevent spreading
Conclusion
Epoxy flooring is one of the most durable, attractive, and low-maintenance flooring options available—but it requires proper preparation, careful application, and attention to detail. By following a systematic approach—starting with surface preparation and finishing with a topcoat—you can achieve a long-lasting floor that withstands traffic, chemicals, and time.
Whether you’re doing it yourself or hiring professionals, understanding the full process of how to install epoxy flooring empowers you to make better decisions, avoid costly mistakes, and ensure the best results for your space.
At Alpine Flooring Solutions, we specialize in professional epoxy floor installations that are tailored to your specific needs and preferences. Contact us today to schedule your consultation and learn more about how epoxy flooring can enhance your space!
Alpine Flooring Solutions
Whatsapp or Call:
+65 80684605

