Understanding the Self-Levelling Properties of Epoxy Flooring
09 July 2025
Understanding the Self-Levelling Properties of Epoxy Flooring
In the world of modern flooring solutions, epoxy stands out as a reliable, durable, and highly adaptable material. Among the various types of epoxy floor coatings, self-levelling epoxy has gained significant attention — and for good reason. This versatile option provides a smooth, seamless finish while correcting uneven surfaces, cracks, and imperfections in both residential and industrial spaces.
In this article, we’ll explore what self-levelling epoxy is, how it works and why it’s one of the best solutions for creating strong, level, and aesthetically pleasing floors.
1. What Is Self-Levelling Epoxy?
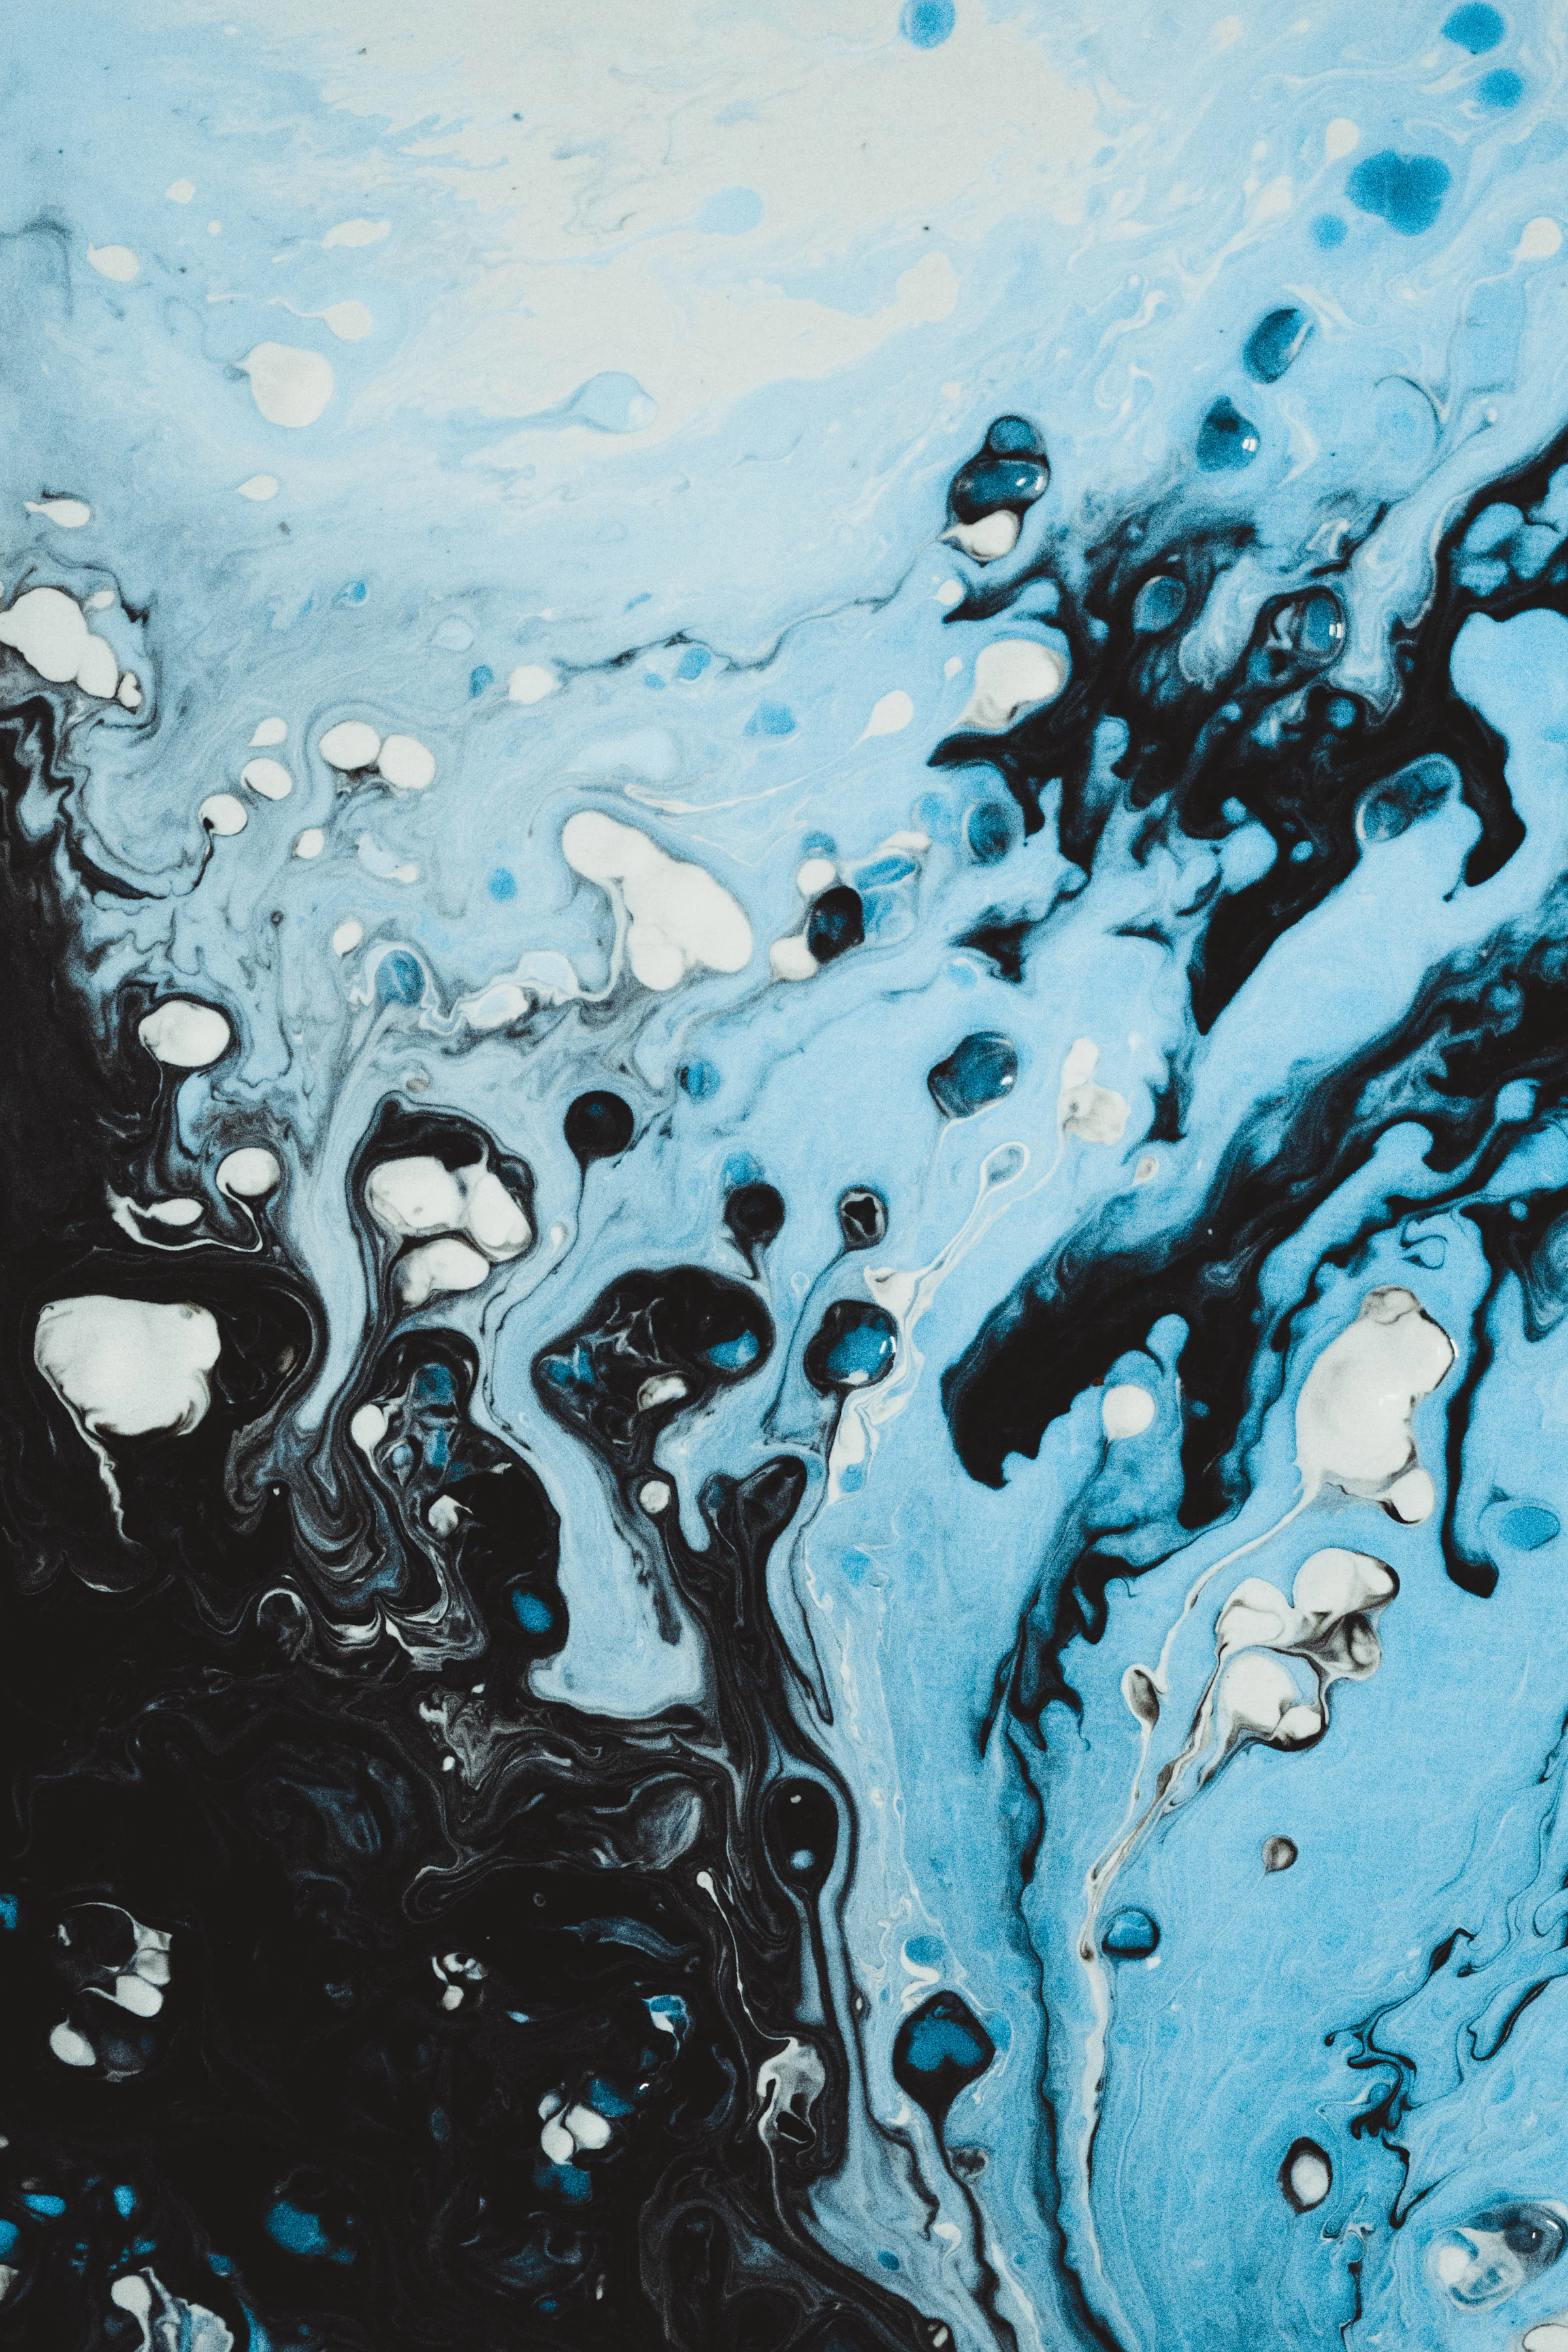
Self-levelling epoxy is a type of epoxy resin floor coating specifically designed to flow and spread evenly across a surface. When poured onto a prepared floor, it fills in dips, cracks, joints, and uneven areas without the need for manual trowelling or smoothing.
Unlike standard epoxy coatings, self-levelling epoxy is formulated with special viscosity and curing agents that allow it to naturally settle into a flat, uniform layer. As it cures, it creates a seamless, smooth surface that is highly durable, chemical-resistant, and visually attractive.
2. How Does Self-Levelling Epoxy Work?
The science behind self-levelling epoxy lies in its fluid dynamics and chemical reaction. When the two components — resin and hardener — are mixed, the resulting compound becomes viscous yet pourable. The mixture is then poured or spread onto a clean, primed surface where it naturally finds its level due to gravity and surface tension.
The curing process typically begins within 30–60 minutes of application, during which time the epoxy spreads, levels, and hardens into a robust surface layer. Once cured (which can take from 24 hours to 7 days depending on the product), the floor is ready for use.
3. Key Benefits of Self-Levelling Epoxy Flooring
Let’s break down the main advantages of using self-levelling epoxy in both residential and commercial projects:
A) Automatically Smooths Uneven Surfaces
The biggest advantage of self-levelling epoxy is its ability to eliminate surface imperfections without labor-intensive grinding or screeding. If your concrete slab or tile floor has dips, waves, or minor cracks, the self-levelling epoxy will flow into these inconsistencies, creating a smooth and even finish.
This makes it especially useful for:
- Old, worn concrete floors
- Tiled surfaces with damaged grout
- Floors with cracks or patchwork repairs
B) Seamless and Hygienic Finish
Because self-levelling epoxy creates a continuous surface with no seams or grout lines, it is far more hygienic than tile or laminate. There are no crevices for dirt, dust, moisture, or bacteria to accumulate — which is particularly important in:
- Hospitals and clinics
- Food processing facilities
- Laboratories
- Kitchens and bathrooms
C) High Durability
Once cured, self-levelling epoxy forms a strong, impact-resistant surface that can endure heavy foot traffic, rolling loads, machinery, and chemical exposure. This durability makes it ideal for high-performance environments such as:
- Warehouses
- Car workshops
- Industrial production areas
- Garages
D) Aesthetic Versatility
In addition to function, self-levelling epoxy also offers a high-end, polished appearance. It’s available in:
- Solid colors
- Metallic or pearlescent finishes
- Decorative flakes or quartz broadcast
- High-gloss or satin finishes
This makes it a great option for offices, showrooms, retail environments, and stylish home interiors.
E) Fast and Efficient Installation
Compared to traditional flooring systems, self-levelling epoxy is relatively fast to install. Since it naturally settles into place without extensive trowelling or shaping, labor time is reduced. It can often be installed in 3 to 4 days depending on surface preparation and curing time.
4. How the Self-Levelling Epoxy Installation Process Works
Here’s a typical step-by-step breakdown of how self-levelling epoxy flooring is installed:
A) Surface Assessment
First, the floor is evaluated for cracks, dips, contaminants, or coatings that may interfere with adhesion.
B) Surface Preparation
The floor is prepped to remove debris, oil, or old coatings and to create a profile for the epoxy to bond to.
C) Crack Repair and Patching
Any large cracks, uneven joints, or surface damage are filled with putty or repair mortar.
D) Base Coat
A base coat is applied to enhance adhesion and prevent air bubbles from forming in the top coat.
E) Mixing and Pouring
The self-levelling epoxy is mixed in precise ratios and immediately poured onto the floor. Using rollers, squeegees, or spiked rakes, the installer helps spread the epoxy across the surface.
F) Design Coat
Any trapped air and ensure a smooth finish. The design coat is added at this stage.
G) Curing
The epoxy will begin to harden within hours but should be left untouched for at least 24 hours before light foot traffic. Full curing takes 3 to 7 days, depending on environmental conditions.
5. How Long Does It Take to Install Self-Levelling Epoxy?
The total installation time depends on the area size and floor condition, but here’s a typical timeline:
- Day 1: Surface preparation and drying of floor
- Day 2: Patching and first epoxy layer
- Day 3: Second layer of design coat
- Day 3 onwards: Curing and final inspection
In ideal conditions, the floor may be ready for light use in 3 days, with full operational use after 5–7 days.
6. Things to Consider Before Installing
Before choosing self-levelling epoxy, keep the following in mind:
- Professional installation is essential. Improper mixing or application can lead to uneven surfaces or poor adhesion.
- Substrate condition matters. A badly damaged or unstable substrate may require additional leveling or patching before application.
- Temperature and humidity affect curing. Installers must control the environment during and after the process.
- Design decisions should be made in advance. Once cured, epoxy is very lasting.
Conclusion
Self-levelling epoxy flooring offers a compelling combination of form and function. Its ability to naturally smooth and level imperfect surfaces, combined with its durability, seamless finish, and design flexibility, makes it one of the most advanced flooring solutions available today.
Whether you’re renovating a warehouse, upgrading a showroom, or modernizing your home interior, self-levelling epoxy can provide a flawless finish that’s built to last.
At Alpine Flooring Solutions, we specialize in professional epoxy floor installations that are tailored to your specific needs and preferences. Contact us today to schedule your consultation and learn more about how epoxy flooring can enhance your space! We offer complimentary on-site consultations, where our experts assess your flooring needs and provide samples, suggestions, and a no-obligation quote.
Alpine Flooring Solutions
Whatsapp or Call: +65 80684605
Instagram/Tiktok: @alpineflooring.sg